How to clean and maintain a robot vacuum & mop
Keeping a robot vacuum & mop performing like week one is mostly routine: airflow (filters), moving parts (brushes/wheels), and anything wet (pads/tanks/dock trays). Use the schedule and checklists below, then jump to our 2026 comparison if you’re shopping.
How this guide works
Robot vacuums (and vacuum + mop combos) are “set-and-forget” only if the parts that move air, touch the floor, and handle moisture stay clean. Most performance drops trace back to three things: a clogged filter, hair wrapped around the main brush, or a dock/pad that stayed damp too long.
This guide is model-agnostic and safe-first. Always follow the manufacturer manual for your robot—especially for washable vs non-washable filters and any approved mopping solution. When in doubt: keep electronics dry, avoid harsh chemicals, and let parts fully dry before reassembling.
If you’re shopping instead of maintaining, start with our Robot Vacuum & Mop Comparison (2026). If you’re battling odors, jump to dock maintenance and mop system care.
- Fast plan: a simple schedule you can actually stick to.
- Checklists: weekly and monthly steps that prevent clogs and weird noises.
- By symptom: fixes for smell, streaks, weak pickup, or docking issues.
Quick maintenance plan (printable)
Think of maintenance as “air + hair + water”. If you manage those three, most robots stay consistent for years. Use the table as your baseline, then tighten the schedule if you have pets, long hair, lots of carpet, or you run the robot daily.
| Frequency | Do this | Why it matters |
|---|---|---|
| After every run (or daily) | Empty bin / check dock bag, rinse pad, refill water if you mop | Prevents clogs and “wet funk” smells |
| Weekly | Clean brushes, tap/replace filter, wipe sensors + charging contacts | Restores airflow, pickup, and navigation |
| Monthly | Deep clean wheels + brush housing, clean dock tray/ports, flush tanks | Stops hidden buildup and squeaks |
| Every 2–6 months* | Replace consumables (filter/brush/side brush/mop pads) as needed | Keeps suction and mopping consistent |
*Start with the official manual for your model. Homes with pets, long hair, thick carpet, or heavy usage usually need shorter intervals.
If you only do three things
Keep the filter dry and dust-free: a clogged filter is the fastest way to lose suction and overwork the motor.
Remove hair from the main brush (and end caps): hair creates drag and can cause squeaks, stalls, or weak pickup.
Don’t let wet parts sit: rinse pads and empty dirty water the same day to prevent odors and bacteria.
15-second reset after a messy run
- Empty the bin (or confirm the dock emptied it).
- Pull off big hair clumps from the brush.
- Rinse the mop pad and let it air-dry.
Supplies & safe cleaners
You don’t need special tools, but the right basics make maintenance faster (and safer for sensors and seals). Before you start, power the robot off and unplug the dock.
- Soft brush: an old toothbrush works for vents, seams, and sensors.
- Microfiber cloth: for sensors, glossy surfaces, and charging contacts.
- Cotton swabs: for tight corners and dock ports.
- Small scissors / seam ripper: to cut hair from brushes (carefully).
- Mild dish soap + warm water: for bins and washable, non-electronic parts.
- Isopropyl alcohol (70%): optional for charging contacts (use lightly).
What to avoid
- Bleach, ammonia, abrasive pads, or “degreasers” that can damage plastics and coatings.
- Spraying liquid directly into the robot/dock or soaking parts that aren’t rated washable.
- Reinstalling a filter while it’s damp (it can smell and restrict airflow).
- Strong-scent floor cleaners in the tank unless the manufacturer explicitly approves it.
After every run (daily)
Daily upkeep keeps the robot “quietly good” so you don’t end up doing a big rescue clean later. These steps usually take 2–3 minutes.
1) Empty the bin (or check the dock)
- No self-empty dock: empty the bin and wipe the bin flap so it closes fully.
- Self-empty dock: check the dock bag/bin before it overfills, and clear the intake path if you see clumps.
- Quick filter tap: tap the filter over a trash can to remove loose dust (no water unless it’s rated washable).
2) Mop basics (if your robot mops)
- Rinse the pad after mopping and let it air-dry (don’t leave it wet on the robot).
- Use clean water in the tank; empty the tank if you won’t mop for a few days.
- If you have a dirty-water tank, empty and rinse it the same day to prevent smells.
3) Do a 10-second floor scan
- Pick up cords, socks, and pet toys so they don’t wrap brushes.
- Shake small rugs or keep them in “no-go” zones if they tangle the robot.
- For heavy crumbs, do a quick sweep first—less debris means less brush buildup.
Weekly routine
Once a week is the sweet spot for most homes. You’re mainly restoring airflow and removing hair from moving parts. Plan 10–15 minutes.
Brushes (hair is the #1 enemy)
- Remove the main brush/roller(s). Cut hair along the groove and pull it away.
- Pop off end caps (if your model has them) and clear wrapped hair from the axle area.
- Spin the brush by hand before reinstalling—any grinding usually means hidden hair in an end cap.
- Remove and clean the side brush; check for string and carpet fibers.
Filter + dust path (airflow)
- Tap the filter gently; replace it if it looks gray, smells musty, or doesn’t “breathe”.
- Wipe the bin cavity and the air inlet where dust flows into the filter.
- If your manual says the filter is washable: rinse, then dry completely (often 24 hours) before reuse.
Sensors, wheels, and charging contacts
- Wipe cliff sensors and the bumper area with a dry microfiber cloth.
- Clean charging contacts on the robot and dock (dry cloth; a tiny bit of alcohol if needed).
- Spin wheels and remove hair from axles—this prevents squeaks and wandering.
Monthly deep clean
Monthly is where you catch the hidden stuff: packed dust in corners, hair behind wheels, and residue in mopping parts. This is also the best time to do a quick “health check” in the app.
Underside deep clean
- Remove the brush cover and wipe the brush housing (especially edges and seams).
- Clean the caster wheel if it pops out; hair can hide inside the wheel fork.
- Check wheels for wrapped hair and wipe tread so traction stays consistent.
Mop module + tanks
- Rinse clean-water tanks and let them dry with the cap open.
- Clean pad plates and any removable wash tray/drip tray.
- If water flow seems uneven, check for lint around the pad mount and intake area (no sharp tools).
App + mapping check
- Install firmware updates when offered.
- Review no-go zones and “keep out” areas if the robot has started snagging.
- Check maintenance counters (filters/brushes) and reset only after you actually cleaned/replaced.
Dock & station maintenance
Modern docks can self-empty, wash pads, and manage water—but they still need basic cleaning. If your robot smells, docks poorly, or leaves residue on pads, the dock is often the culprit.
Self-empty docks
- Unplug the dock, then check the bag/bin before it overfills.
- Wipe the dock intake area and remove clumps stuck in the port (cotton swab works well).
- If the dock sounds strained, stop and clear the channel—forcing it can tear bags or clog the pathway.
Wash/dry stations (mop models)
- Empty and rinse the dirty-water tank the same day; leaving it overnight is the fastest path to odor.
- Rinse the wash tray/drip tray and remove hair from any mesh screens.
- Keep vents clear so pads can dry; moisture + warmth = smells.
Tip: If you have hard water, mineral buildup can affect docks and tanks. Follow your manufacturer’s guidance for descaling—avoid improvised chemicals if the manual doesn’t allow them.
Mop system care
Robot mopping is “maintenance mopping”: it keeps floors looking good between deeper manual cleans. Pad hygiene makes a bigger difference than anything else.
Pad routine (no streaks, no smells)
- Rinse pads after each mopping run and let them air-dry fully.
- Wash pads regularly (follow the label). Skip fabric softener and dryer sheets—they reduce absorbency.
- Rotate two or three sets of pads so you always start with a clean, dry set.
If your floors look streaky
- Pre-vac first: grit + moisture = streaks.
- Use a fresh pad, and reduce water flow if your model allows it.
- Clean the pad plate and edges—residue there can transfer to the floor.
Filters, brushes, wheels & sensors
Consumables wear out gradually, so the easiest way to decide is to watch for “signals”: more noise, more hair left behind, and that slow drop in pickup performance.
| Part | Replace/clean when you notice… | Notes |
|---|---|---|
| Filter | Weak pickup, dusty smell, visible gray buildup | Wash only if the manual allows it; always dry fully |
| Main brush / roller | Hair wraps fast, bristles deform, louder scraping | Clean end caps; check bearings for hidden hair |
| Side brush | Wobbles, frays, or misses edges | String/fibers can bend it out of shape |
| Mop pads | Streaks, odor, reduced absorbency | Rotate sets; avoid softener |
Start with the manufacturer schedule for your model, then adjust based on your home. Pets and long hair often shorten replacement intervals.
Troubleshooting by symptom
When something feels “off”, don’t guess—follow a simple order: airflow, brushes, wheels, then dock/mop parts. You’ll solve most problems without resets.
It smells musty
- Remove and wash/replace the mop pad; empty and rinse any dirty-water tank.
- Clean the dock tray and let tanks dry with lids open.
- Tap/replace the filter—odor can live in clogged filters.
It leaves hair behind
- Clean the main brush and end caps; hair can “rope” around the axle.
- Check the side brush and wheel axles for wrapped fibers.
- If the bin is packed, empty more often (especially with pets).
Mop streaks or puddles
- Start with a clean pad and clean water; reduce flow if possible.
- Clean the pad plate and any drip tray; residue transfers easily.
- Don’t use extra detergent unless your manufacturer approves it.
It won’t dock reliably
- Wipe charging contacts and the docking sensor area.
- Move the dock to a clear wall space; reflections and clutter can confuse navigation.
- Clean wheels so traction is consistent on approach.
Common mistakes
- Reinstalling a damp filter (smell + weak suction).
- Cleaning the brush but skipping end caps (hair stays hidden, brush drags).
- Letting dirty water sit in a dock tank (fast odor buildup).
- Using harsh cleaners that damage seals, plastics, or sensors.
- Overloading the robot with clutter, cords, and small rugs that wrap brushes.
- Ignoring maintenance alerts in the app until performance collapses.
- Assuming “self-empty” means “no maintenance” (the dock still needs cleaning).
FAQ
How often should I clean my robot vacuum filter?
For most homes: a quick tap weekly and a replacement when you notice a steady drop in pickup. If you have pets or run the robot daily, you may need to replace filters more often. Follow the manual first.
Can I wash a HEPA filter?
Only if your manufacturer says it’s washable. Many “HEPA-style” filters are not meant to be rinsed. If you do wash a rated filter, let it dry completely (often 24 hours) before reinstalling.
Can I add floor cleaner to the mop tank?
Use clean water unless your model explicitly approves a specific solution. Extra detergent can cause foam, residue, or clogged pathways, and some cleaners damage seals over time.
Why does my robot mop smell?
Odor almost always comes from moisture left in pads, trays, or dirty-water tanks. Rinse and dry pads, empty dirty-water tanks the same day, and keep dock trays clean.
Do I still need manual cleaning?
Yes—robot mopping is usually “maintenance level”. Most homes still benefit from occasional manual mopping (especially kitchens and entryways) and a deeper vacuum in corners.
Next steps + our picks
If you want a deeper buying guide (or you’re upgrading), our Robot Vacuum & Mop Comparison (2026) explains how we compare robots and match features to your home (with specs and box contents sourced from official manufacturer pages, January 2026).
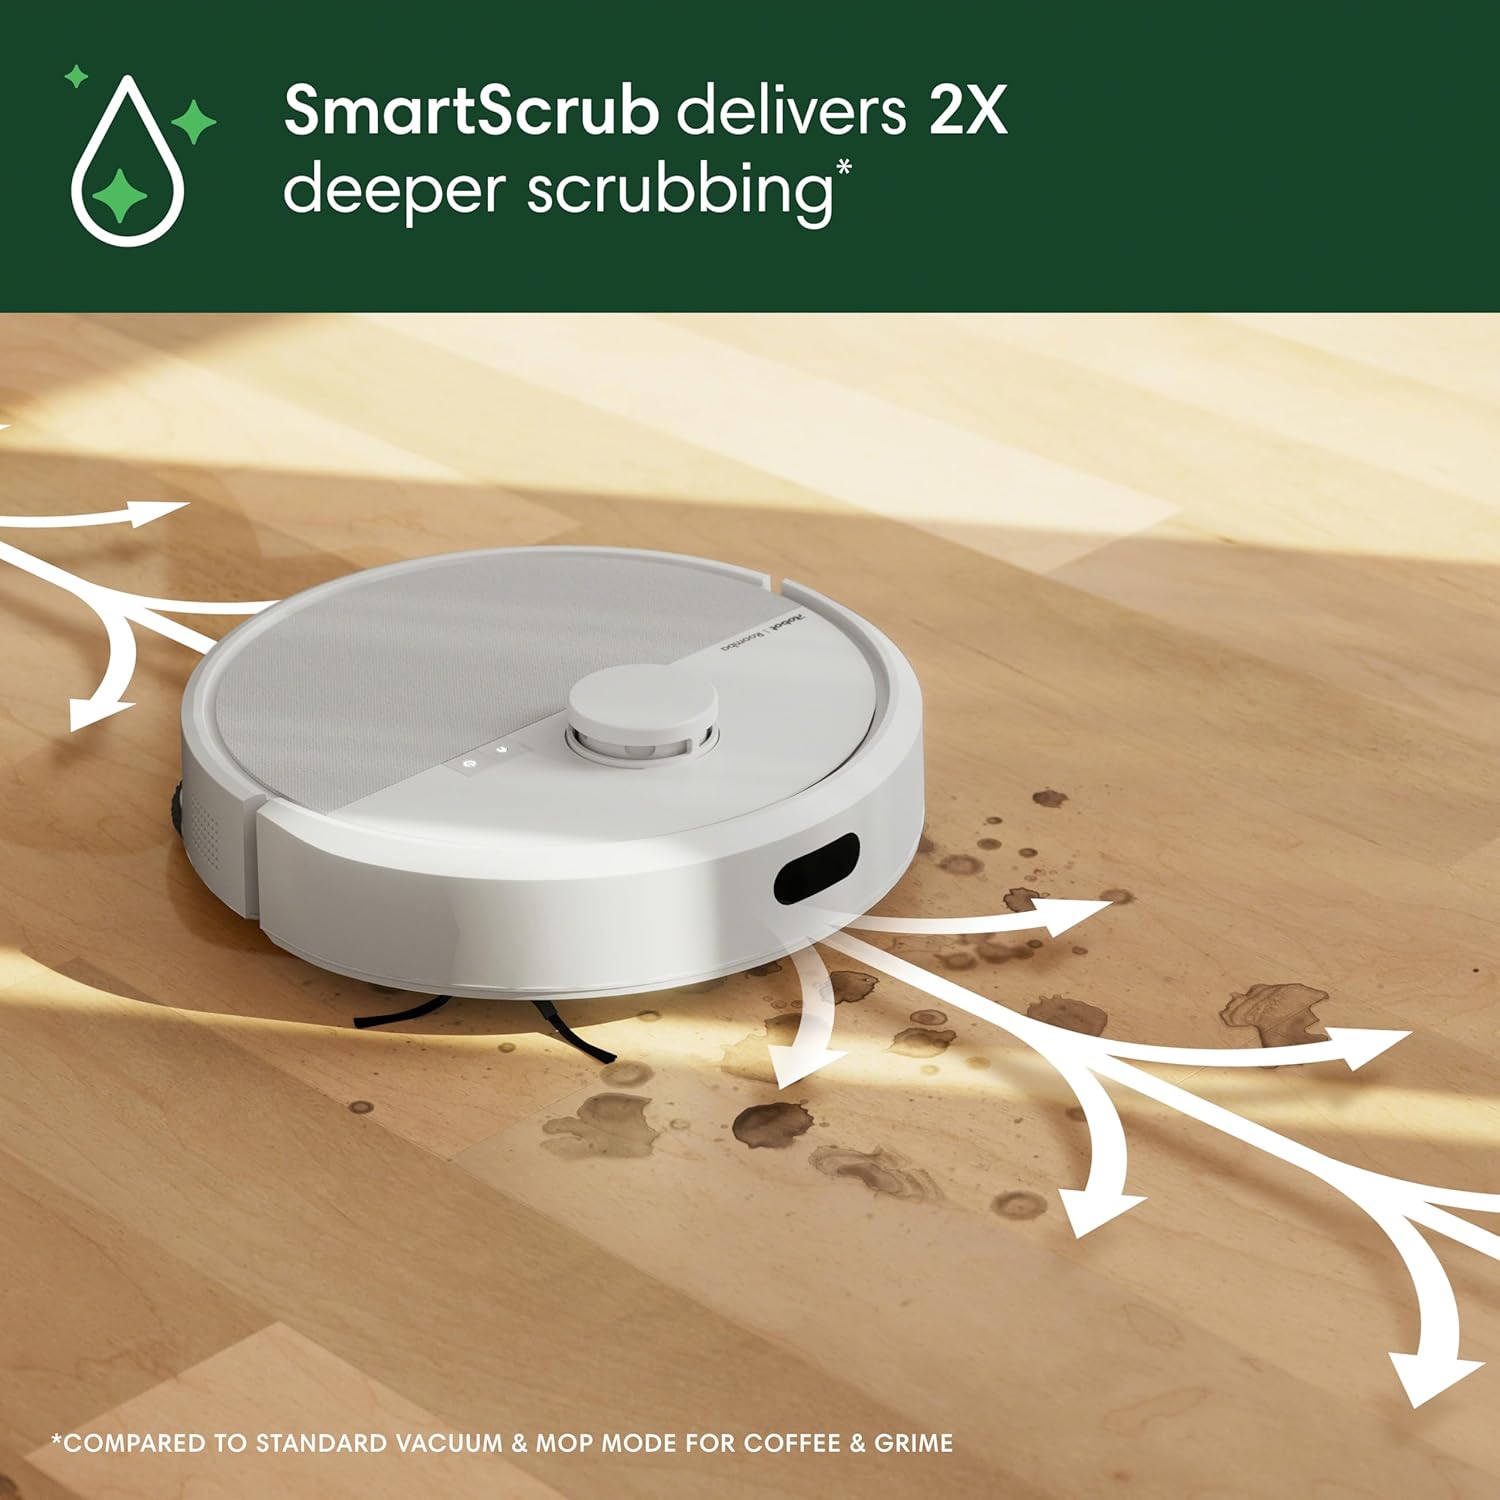
iRobot Roomba Plus 405 Combo + AutoWash Dock (G185020)
iRobotA reference pick if you’re comparing dock automation and hands-off routines.
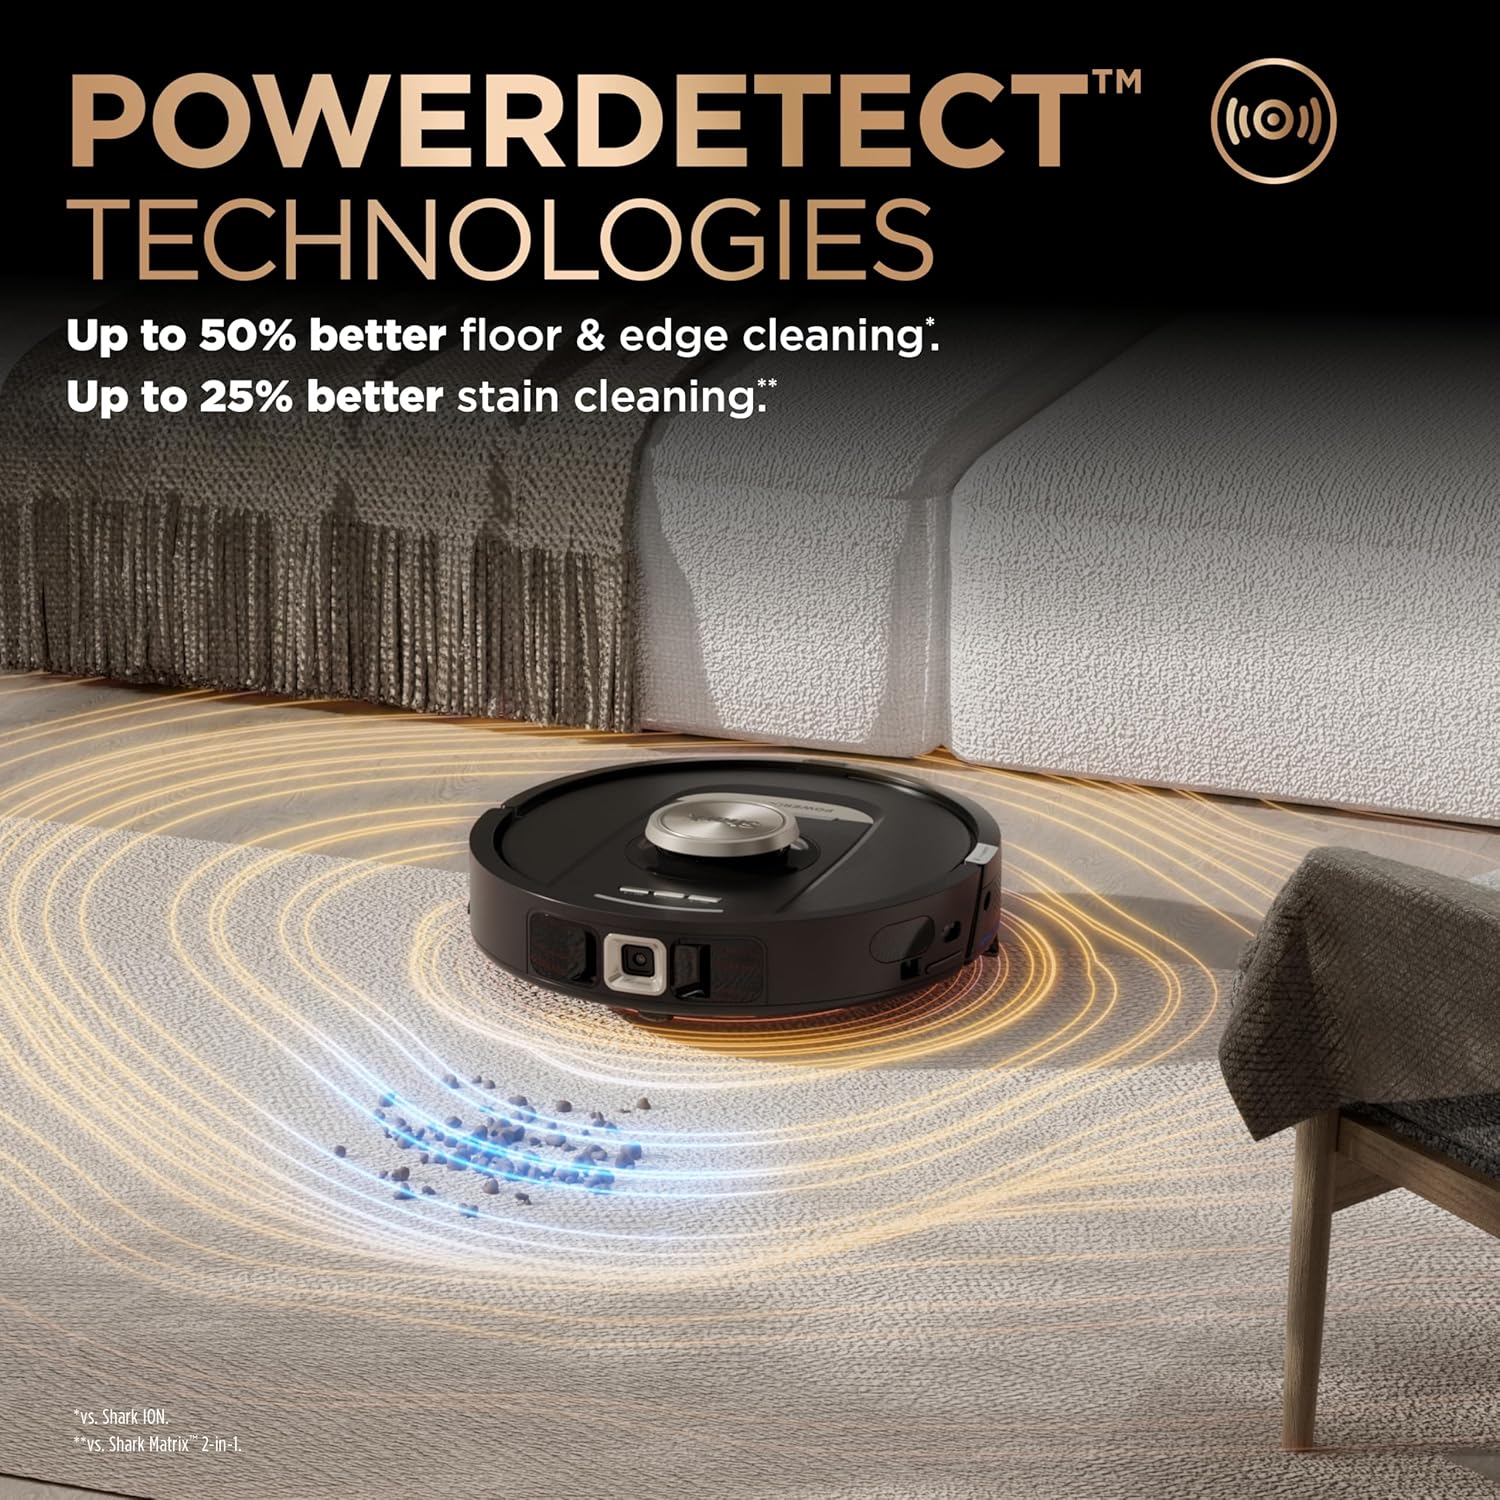
Shark PowerDetect 2-in-1 + NeverTouch Pro Base
SharkUseful as a practical comparison point for day-to-day upkeep.
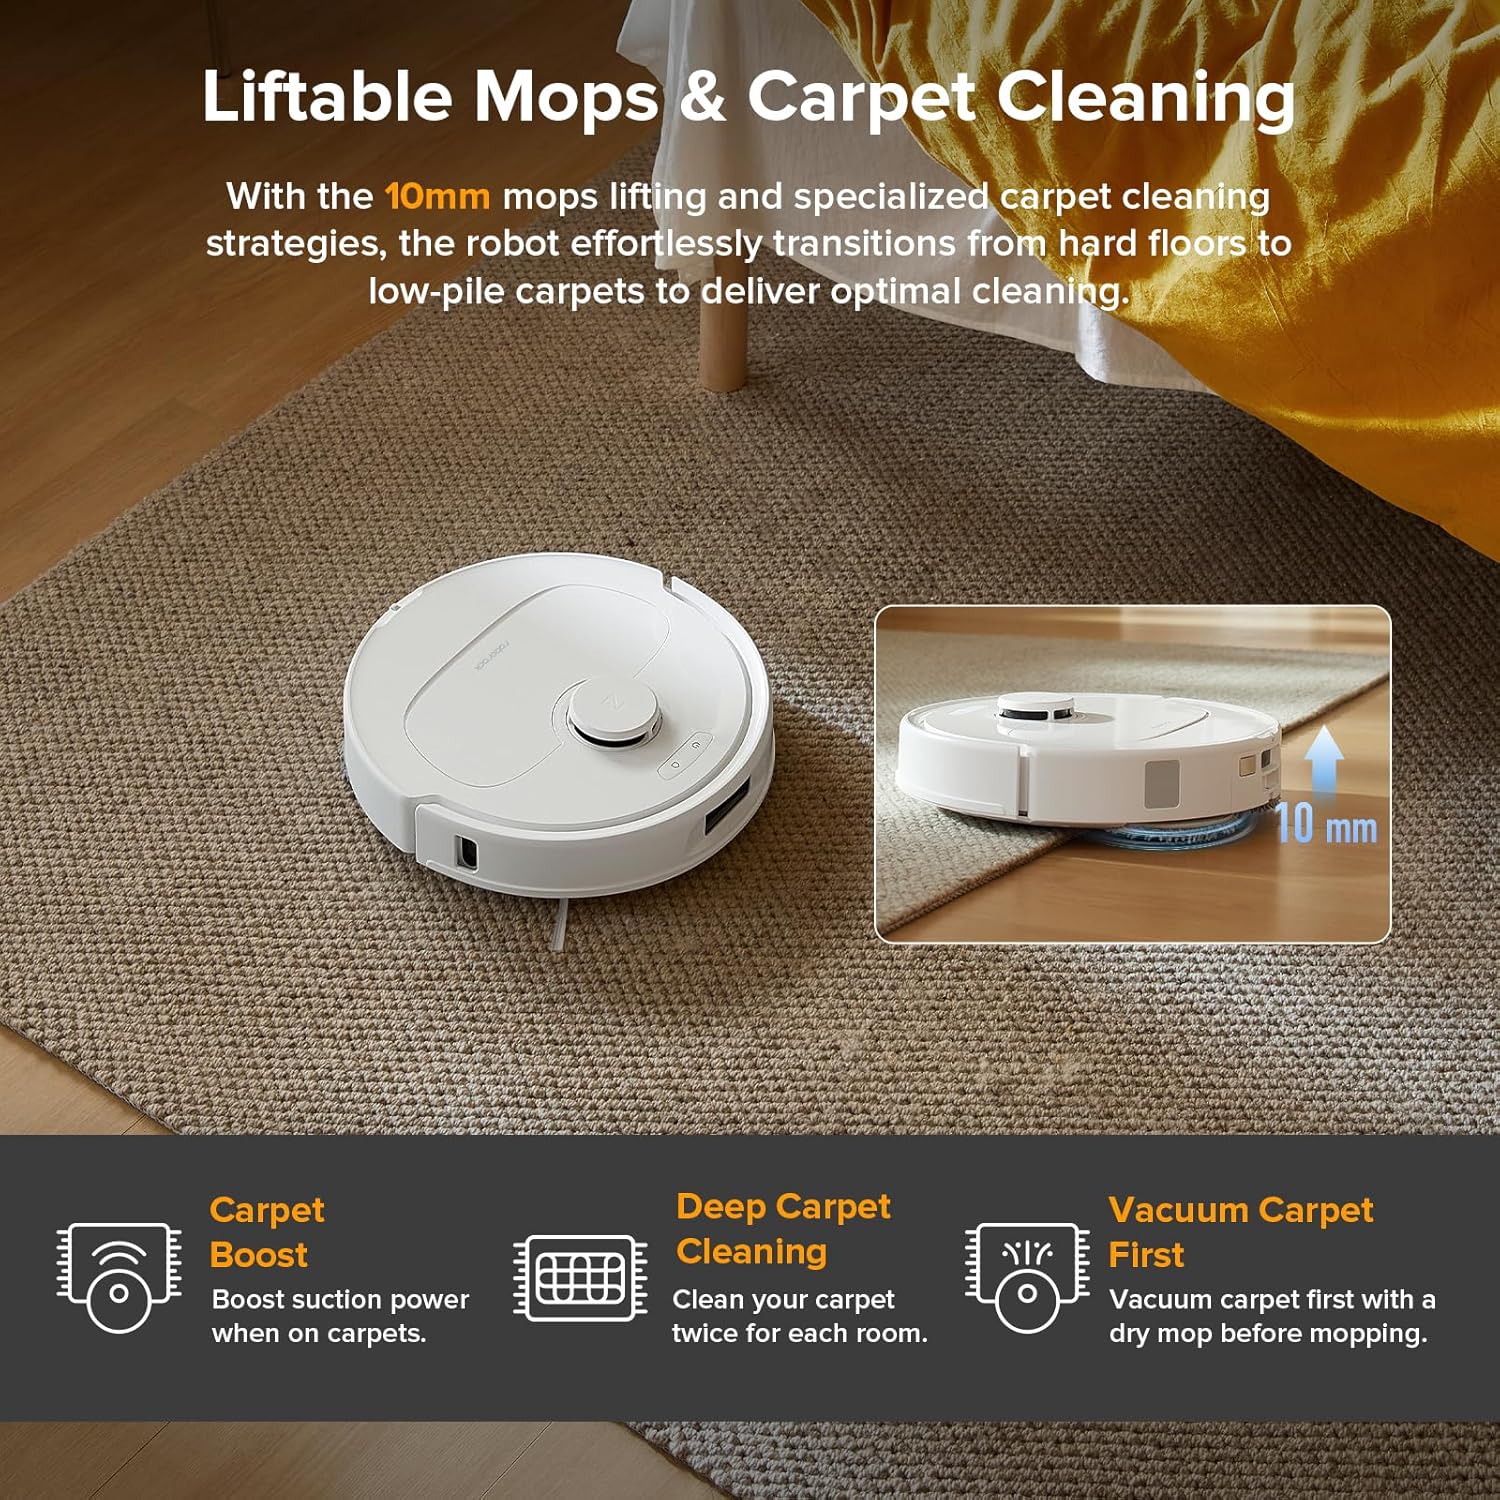
Roborock QV 35A + All-in-One Multifunctional Dock
RoborockA solid reference point for mapping, zoning, and mixed-surface homes.
Affiliate links open in a new tab. Specs and box contents in our comparison are sourced from official manufacturer pages (January 2026).